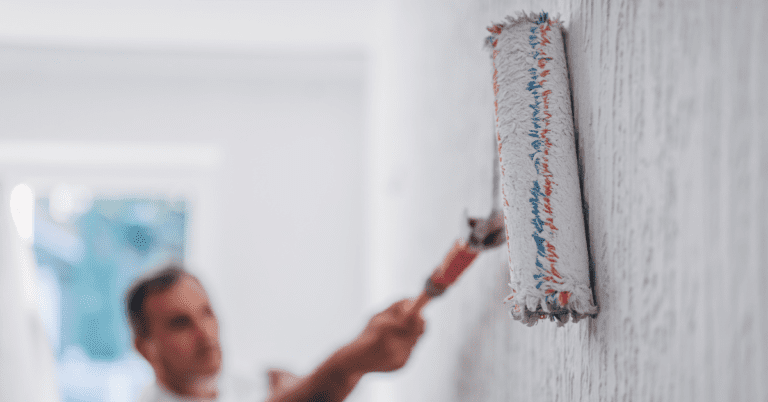
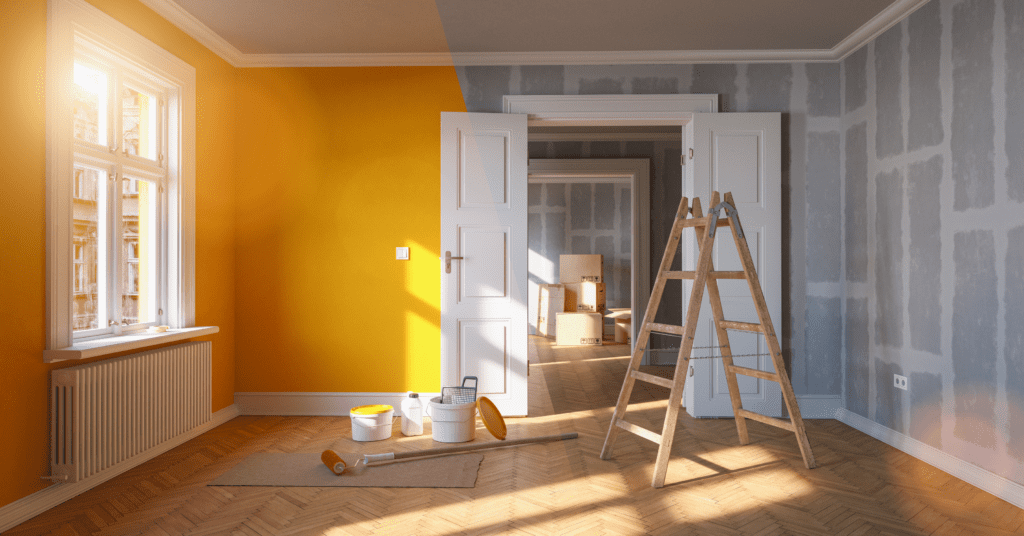
When it comes to painting your walls, prep work is an essential step that should never be skipped. Many homeowners underestimate or overlook the importance of proper surface preparation before painting, but doing so can have significant consequences.
In this article, we will explore the various aspects of painting prep, its benefits, necessary steps, required materials, special considerations for different surfaces, and safety procedures that should be followed. So, let’s dive in and discover what happens when you skip painting prep.
What are the consequences of skipping the painting prep process?
One of the most common mistakes made by homeowners is skipping the cleaning and paint removal step. It also includes identifying, removing, and preventing moisture. Moisture can inhibit paint adhesion and promote blistering and peeling. It can also lead to the growth of mold and mildew under the paint, which can have detrimental health effects. Failing to eliminate pre-existing problems with the material’s surface often results in a patchy finish that lacks durability.

When dirt, dust, or loose paint is not properly removed, it can interfere with the adhesion of the new paint. Consequently, the paint will peel, crack, bubble up, and flake because it is not sticking to the surface. Taking the time to prepare the surface correctly can make all the difference in your project’s success.
One aspect of painting that’s often overlooked is the sequence of painting; for instance, many homeowners are unsure whether to paint the trim or walls first. Discover When Painting, Should You Paint Trim or Walls First? for a deeper understanding.
What are the benefits of properly preparing a surface for painting?
Taking the time and effort to properly prepare the surface before painting offers numerous benefits. A well-prepared surface is clean, free of dust and dirt, smooth, and primed for painting.
Cleanliness and uniformity allow for a smooth application of paint that evenly covers the surface and dries evenly. One vital aspect of surface preparation is ensuring your material is wholly and thoroughly cleaned up, dry, and moisture-free.
What steps should be taken when preparing a surface for painting?
To ensure a smooth and successful painting project, several steps are followed by professional painters when preparing a surface. Here are the essential steps:
Step 1: Remove loose, peeling paint with a paint scraper and sandpaper.
Step 2: Sand all edges to smooth the surface and help the new paint adhere.
Step 3: Repair any water and smoke damage.
Step 4: Sand sags, drips, or runs.
Step 5: Fill small cracks and nail holes using an appropriate filler.
Step 6: Remove any wallpaper if needed.
Step 7: Scrub all surfaces with a mild detergent and a sponge or rag to remove all dirt, grease, oil, etc.
Step 8: Rinse the surface well and allow it to dry thoroughly.
Following these steps will ensure that your surface is clean, smooth, and ready for painting. After completing the painting process, many homeowners question how soon they can use the room. Find out How Long Should You Wait Before Sleeping in the Room After Painting? to ensure safety.
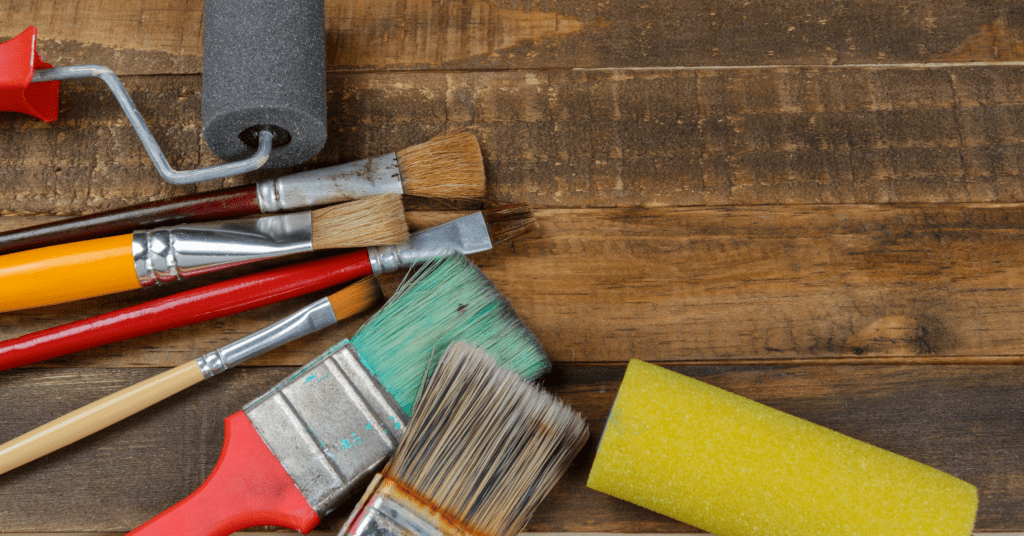
What materials are necessary for proper painting preparation?
To properly prepare a surface for painting, professional painters need the following materials:
- Primer: A good quality primer will help ensure proper paint adhesion and provide a uniform base for the paint.
- Spackling & Patching Products: These products are essential for filling small cracks, holes, and other imperfections on the surface.
- Drywall Repair Supplies: If your walls are made of drywall, you may need specific supplies to repair any damage or unevenness.
- Painters Tape: Use painters tape to protect areas that you don’t want to be painted, such as trim, windows, and doorframes.
- Drop Cloths (Plastic & Canvas): These will protect your floors and furniture from paint spills and splatters.
While preparing your surface, it’s equally important to choose the right type of paint for your project. Dive into The Different Types of Interior Paint to find the best fit for your needs.
What types of surfaces require special preparation before painting?
While the basic steps for surface preparation apply to most surfaces, some require special consideration. Here are a few examples:
- Wood: When painting wood surfaces, it is crucial to ensure that the surface is clean, sanded, and free from any loose or flaking paint. Additionally, priming the wood is essential to prevent the paint from being absorbed unevenly.
- Metal: Metal surfaces should be properly cleaned and sanded to remove any rust or corrosion. Applying a suitable primer designed for metal will ensure optimal paint adhesion and prevent future rusting.
- Concrete: Concrete surfaces often require thorough cleaning and degreasing before painting. Any cracks or imperfections should be patched and repaired using appropriate materials. Applying a concrete sealer or primer will also help the paint adhere and provide a more durable finish.
- Stucco: Stucco surfaces require removing any dirt, debris, or contaminants. Carefully inspect and repair any cracks present to ensure a smooth and even finish. Once the repairs are complete, apply a primer to prepare the stucco for painting, promoting better adhesion and durability. After the first coat has dried, allow sufficient drying time and then proceed to apply a second coat, further enhancing the stucco’s appearance and durability. Stucco surfaces can be challenging but with proper care, they can be revived. Explore Reviving Your Home’s Facade: A Comprehensive Guide to Repairing Old Stucco for a detailed look into the process.
Different surfaces may require additional steps or specific products, so it is essential to research and follow proper guidelines for each surface type. For surfaces like stucco, it can sometimes be challenging to decide between repair and replacement. Learn more about Is It Better to Repair or Replace Stucco? to make an informed decision.

What safety procedures should be followed during painting preparation?
Although painting prep may not seem dangerous, it is crucial for painters to follow proper safety procedures to protect themselves and others. Here are some safety tips to keep in mind:
- Wear protective clothing, including gloves and goggles, to prevent contact with chemicals and paint splatters on open skin.
- Ensure proper ventilation in the area you are working in, especially when using cleaning agents or paint removers.
- Use sturdy ladders or scaffolding to reach high areas, and always follow ladder safety guidelines.
- Keep children and pets away from the work area to avoid accidents or exposure to harmful chemicals.
- Dispose of any hazardous waste, such as paint thinners or solvents, according to local regulations.
Taking these safety precautions will help ensure a safe and successful painting prep process.
In conclusion, skipping painting prep can have significant consequences on the quality and longevity of your paint job. Properly preparing the surface before painting is essential for achieving a smooth, durable, and visually appealing finish.
By following the necessary steps, using the right materials, considering special surface requirements, and prioritizing safety, you can ensure that your painting project is a success. So, always remember to invest time and effort in prep work before picking up that paintbrush. Your walls will thank you!
Whether you reside in Maple Ridge, Langley, Richmond, or any other beautiful city within the Greater Vancouver Area, our expert painters are here to assist. With dedicated teams in Maple Ridge, Langley, Richmond, New Westminster, West Vancouver, North Vancouver, Port Coquitlam, Coquitlam, Port Moody, Surrey, Burnaby, and Vancouver you’re never too far from a trusted professional. No matter the scale of your project, we’re committed to ensuring a smooth and flawless finish. Don’t delay your home transformation any longer; get in touch with our local painters today and let’s bring your vision to life!
Frequently Asked Questions
What happens if you skip sanding and priming before painting in Vancouver?
Skipping sanding and priming leads to poor paint adhesion, visible imperfections, and premature peeling or flaking, especially in Vancouver’s humid climate. Moisture in the air can prevent un-primed surfaces from bonding properly with paint, causing the finish to fail within months rather than lasting the expected 7 to 10 years. Professional painters always include thorough prep as a standard part of the job.
Why is paint prep so important for Vancouver homes?
Vancouver’s climate of heavy rain, high humidity, and temperature fluctuations puts extra stress on painted surfaces. Without proper preparation including cleaning, scraping loose paint, filling cracks, sanding, and priming, paint cannot form a durable bond with the surface. This is especially critical for exterior painting in Greater Vancouver, where inadequate prep is the number one cause of early paint failure.
How much of a painting project should be prep work?
Professional painters in Vancouver typically spend 60 to 80 percent of total project time on preparation and only 20 to 40 percent on actual painting. This includes washing surfaces, scraping and sanding, caulking gaps, filling holes, masking trim and fixtures, and applying primer. Cutting corners on prep to save time is the most common reason paint jobs fail prematurely.
Can I just paint over peeling paint on my Vancouver home?
No. Painting over peeling paint will cause the new paint to peel off along with the old layer, wasting your time and money. All loose and peeling paint must be scraped, the edges feathered smooth with sandpaper, and a quality primer applied before the top coat. In Vancouver’s wet climate, you should also investigate the cause of the peeling, which may be moisture intrusion, before repainting.
What does professional paint prep include in Greater Vancouver?
Professional paint preparation in Greater Vancouver typically includes power washing exterior surfaces, scraping and sanding loose or flaking paint, filling cracks and holes with appropriate filler, caulking gaps around windows, doors, and trim, applying primer to bare or repaired areas, and masking off areas not being painted. For interior projects, it also includes moving and protecting furniture, covering floors, and repairing drywall imperfections.