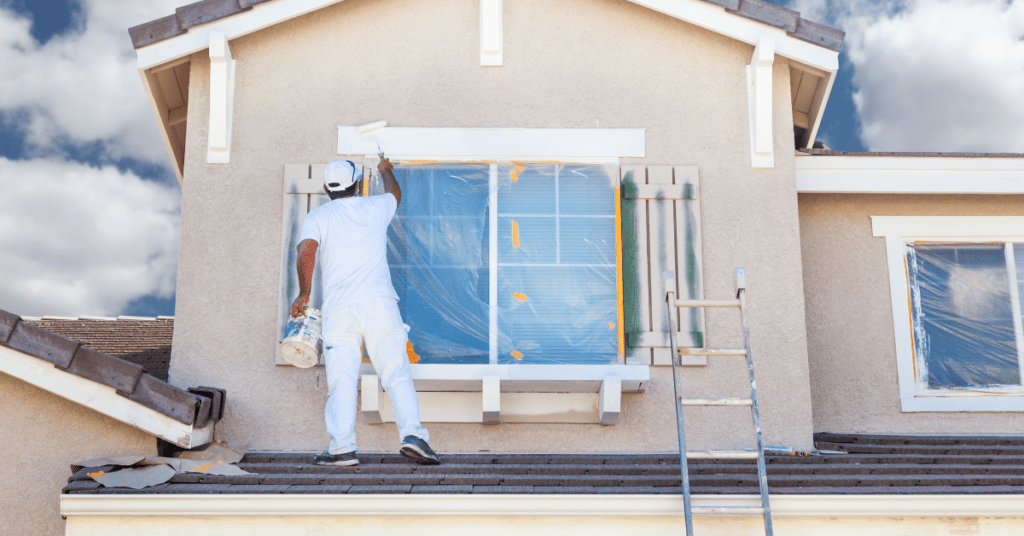
When it comes to enhancing your home’s curb appeal, few things make as significant an impact as a fresh coat of paint. However, achieving a flawless finish requires meticulous preparation. One crucial step in achieving a flawless paint job is meticulous preparation. Skipping painting prep can lead to various issues like poor paint adhesion and an uneven finish. This preparation often involves repairing and restoring the exterior surfaces before painting. While some homeowners might consider a DIY approach, hiring expert exterior painters ensures professional results and can save time and effort. Here’s a step-by-step guide on how professional painters repair and restore your home’s exterior before painting.
Step 1: Initial Inspection and Assessment
Detailed Exterior Examination
Professional painters begin with a thorough inspection of your home’s exterior. They look for signs of damage such as:
- Cracks and gaps in the siding
- Rotten or warped wood
- Mold, mildew, and algae growth
- Peeling or blistering paint
- Damaged caulking around windows and doors
Documentation and Planning
All issues are documented, and a comprehensive plan is formulated to address each problem. This includes identifying the materials needed and estimating the time required for each repair.
Step 2: Cleaning the Surface
Pressure Washing
Pressure washing is an essential step to ensure the paint adheres properly. Power washing your house removes dirt, grime, and old paint that could interfere with the new coat. This step ensures a clean surface, which is crucial for the new paint to adhere properly.
Mildew and Mold Treatment
If mildew or mold is detected, specialized treatments are applied to eradicate these growths. This often involves using a bleach solution or commercial mold remover.
Step 3: Surface Repairs
Wood Repair and Replacement
Damaged wood is either repaired or replaced. This includes:
- Cutting out and replacing rotted sections
- Using epoxy wood fillers for minor repairs
- Ensuring new wood matches the existing structure
Repairing Cracks and Gaps
Cracks in stucco, brick, or wood siding are filled with the appropriate materials:
- Masonry fillers for brick and stucco
- Exterior-grade caulk for gaps around windows and doors
- Flexible fillers for wood
Step 4: Sanding and Smoothing
Sanding Surfaces
All repaired areas and rough spots are sanded to create a smooth surface. Professionals use power sanders for large areas and hand sanders for detailed work.
Removing Dust and Debris
After sanding, the entire exterior is cleaned again to remove dust and debris, ensuring no particles interfere with the paint.
Step 5: Caulking and Sealing
Caulking Joints and Gaps
Professionals use premium exterior caulk to seal joints, seams, and gaps. This prevents water infiltration and enhances the overall appearance.
Sealing Windows and Doors
Special attention is given to sealing around windows and doors to prevent drafts and water damage.
Step 6: Priming
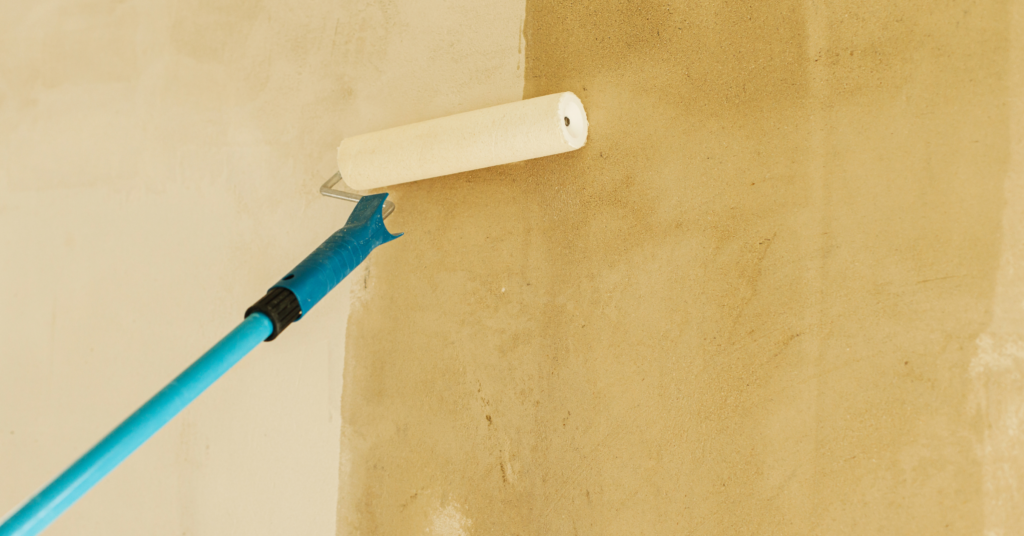
Applying Primer
A high-quality exterior primer is applied to all surfaces which seals the surface, provides a uniform base for the top coat and enhances paint adhesion and durability.
Spot Priming
Extra primer is applied to repaired areas and spots with bare wood or metal to ensure full coverage.
Step 7: Painting
Choosing the Right Paint
Professional painters help you select high-quality exterior paints designed to withstand harsh weather conditions. They will help choose colours that complement the home’s architecture and surroundings.
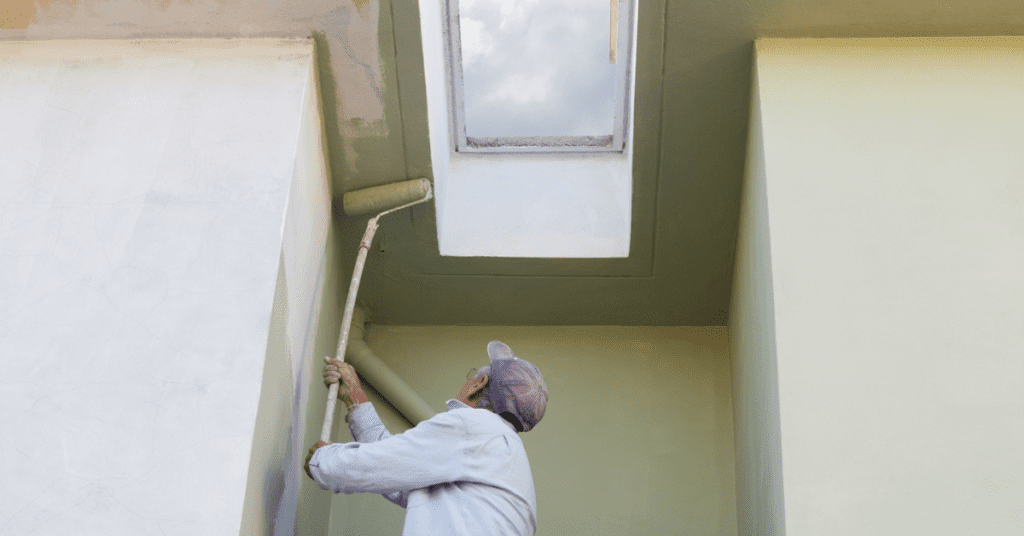
Applying the Paint
Using techniques such as spraying, rolling, and brushing, professionals apply the paint in multiple coats:
- First, a base coat for even coverage
- Followed by additional coats for durability and richness of colour
Step 8: Final Inspection and Touch-Ups
Thorough Inspection
Once painting is complete, a final inspection is conducted to ensure all areas are properly covered and the finish is flawless. A thorough final inspection is crucial to ensure a high-quality finish. Knowing if your painter did a good job involves checking for even coverage and smooth, defect-free surfaces.
Touch-Ups
Any missed spots or imperfections are touched up, and the surrounding areas are cleaned up.
Step 9: Clean-Up and Maintenance Advice
Clean-Up
Professionals clean up the site, removing all equipment and debris. They also dispose of hazardous materials according to environmental regulations.
Maintenance Tips
Homeowners are provided with maintenance tips to extend the life of the paint job, such as regular cleaning and inspecting for early signs of damage. Regular maintenance extends the life of your paint job. Knowing how often to repaint your home’s exterior helps in planning long-term upkeep.
Conclusion
Restoring and painting your home’s exterior is a complex process best handled by professionals. Their expertise ensures that all repairs are correctly made, surfaces are properly prepared, and the final paint job is both beautiful and long-lasting. By entrusting this task to skilled exterior painters like All Painting, homeowners can enjoy peace of mind and an enhanced home appearance.
Enhancing your home’s curb appeal is just a step away with our professional painting services. Whether you’re looking for Maple Ridge painters, Langley painters, Richmond painters, New Westminster painters, West Vancouver painters, North Vancouver painters, Port Coquitlam painters, Coquitlam painters, Port Moody painters, Surrey painters, Burnaby painters, or Vancouver painters, we have experienced painters ready to transform your home’s exterior. Trust us to handle every detail with precision and care, ensuring a flawless finish that lasts. Contact us today at All Painting Ltd. to schedule a consultation and discover how we can help elevate your home’s beauty and value.