
When it comes to repairing drywall, sandpaper is a critical tool that can help achieve a smooth and seamless finish. However, choosing the right grit of sandpaper for your specific drywall repair project is essential for optimal results.
In this article, we will explore the different types of damage that require sandpaper repair, the recommended grits for various types of drywall repair, the benefits of using different grits, the difference between wet and dry sandpaper, the types of sandpaper available for drywall repair, and the safety precautions to take when using sandpaper.
Types of Sandpaper Grits for Different Types of Drywall Repair
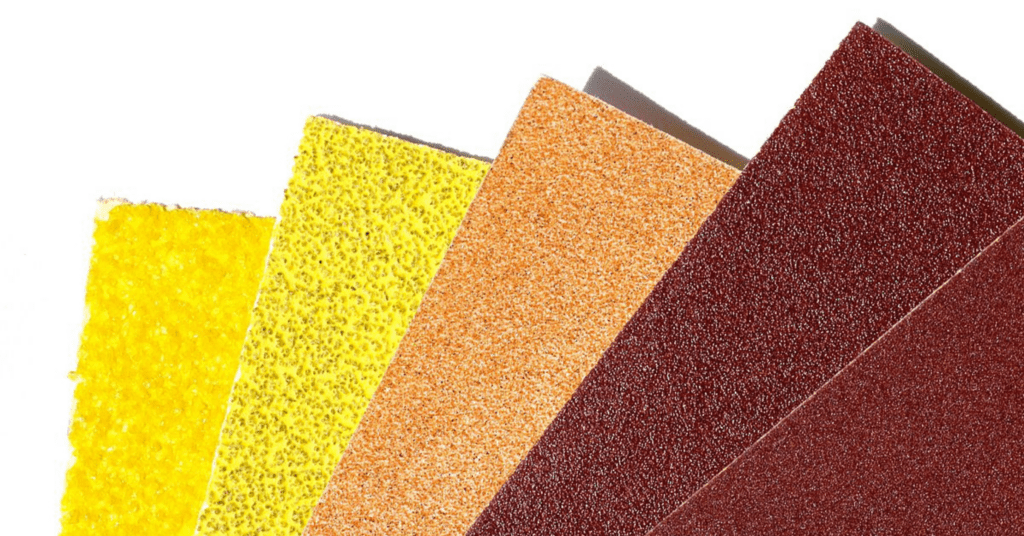
Photo credit: Wikimedia Commons
Now that we have an understanding of the types of damage that may require sanding, let’s explore the recommended grits of sandpaper for different types of drywall repair.
Most drywall projects should be finished with sandpaper in the 150-220 grit range, depending on the methods you use. Higher numbers indicate a finer grit sandpaper, while lower numbers indicate a coarser grit. It is crucial to choose the right grit, as using sandpaper that is too fine or too coarse can result in suboptimal results.
For smaller projects or when on a limited budget, manual sanding is an excellent choice. It is recommended to use slightly coarser sandpaper, around 100 to 120 grit, for the first pass. Manual sanding with finer grits can be time-consuming. Once you have removed most of the excess compound with coarser sandpaper, you can refine the surface with a finer grit, working towards 150 grit or so.
For larger projects or when sanding more than just seams, such as patching a larger area with compound, power sanding can save you a significant amount of time and effort. However, due to its power, it is important to start with a finer grit, around 150, to avoid removing too much or damaging the surface. After the initial sanding, you can finish up with even finer sandpaper, around 180 to 220 grit, to achieve a smooth surface.
An alternative option for drywall sanding is wet sanding with a drywall sponge. While a regular sponge can be used for dry sanding, wet sanding generally produces better results. Wet sanding is particularly beneficial for smaller projects and tight spaces, as it is easier to maneuver the sponge into those areas. Additionally, wet sanding produces less dust, as the water prevents drywall dust from flying off the wall. Rinse the sponge frequently during work for optimal results.
Sanding sponges come with different faces, each with different grits. Start with a medium face for the initial pass and follow up with a finer grit face for further refinement. Best Grit Sandpaper Sponge for Drywall: Medium for the first pass and fine for the second pass. When choosing the right sandpaper grit, it’s essential to first assess the extent of damage to your drywall. Sometimes it might be more practical to repair or replace the drywall, especially if the damage is extensive.
Benefits of Using Different Sandpaper Grits for Drywall Repair
Using different sandpaper grits for drywall repair offers several benefits, including:
1. Efficient Removal of Joint Compound: The right grit sandpaper ensures the efficient removal of joint compound, reducing the time and effort required for sanding.
2. Smooth and Seamless Finish: Using the proper grit sandpaper helps achieve a smooth and seamless finish, making repaired areas blend in with the surrounding drywall.
3. Minimized Visible Scratches: A carefully selected grit can help avoid visible scratches or marks on the drywall surface, resulting in a professional-looking result.
4. Time and Cost Savings: Choosing the right grit sandpaper for your project saves time and effort by streamlining the sanding process. It also reduces the need for excessive sanding and repainting, resulting in cost savings.
Types of Sandpaper Available for Drywall Repair
Different types of sandpaper are available for drywall repair, each with its unique characteristics. The most common types include:
1. Garnet Sandpaper: Relatively affordable and commonly used for general-purpose sanding.
2. Aluminum Oxide Sandpaper: Durable and versatile, making it suitable for various applications.
3. Silicon Carbide Sandpaper: The most aggressive type, often used for heavy-duty sanding tasks.
When selecting sandpaper for drywall repair, opt for high-quality products specifically designed for drywall sanding. These sandpapers are typically labeled as “drywall sandpaper” or “drywall sanding sheets” and are available in convenient sizes for easy handling. Just as you’d pick different types of sandpaper for varied drywall repairs, selecting the right finish, such as distinguishing between epoxy coating and epoxy paint, is crucial for other home improvement projects.
Types of Damage That Require Sandpaper Repair
Before delving into the ideal grit of sandpaper for drywall repair, it is crucial to understand the various types of damage that may require sanding. Here are ten common types of drywall damage that can be addressed with sandpaper repair:
1. Popping Nails: When nails become loose and protrude from the drywall surface, sanding can help level them.
2. Furniture Scuffs: Scuff marks caused by furniture can be smoothed out with sandpaper.
3. Smaller Holes: Small holes left behind by nails or screws can be patched and sanded for a seamless finish.
4. Bigger Holes: Larger holes in the drywall may require a patch, which should be sanded to blend in.
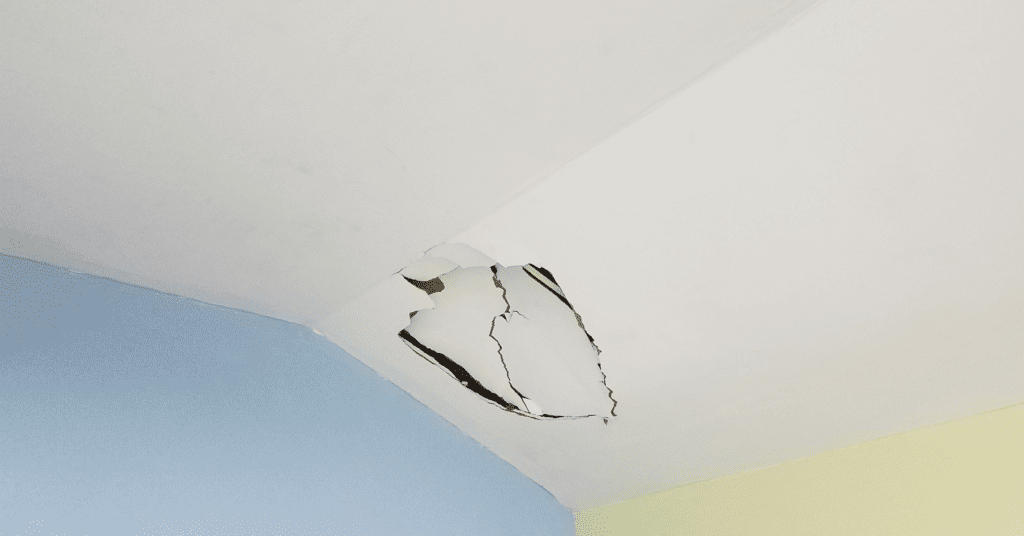
5. Water Damage: After repairing water-damaged drywall, sanding is necessary to achieve a smooth surface.
6. Cracking: Sanding can help minimize the appearance of cracks in drywall and create a more uniform surface.
7. Joint Tape Loosened: When joint tape starts to loosen, sanding can help re-adhere it to the drywall surface.
8. Dented Corner Bead: Sanding can be used to smooth out dents in the corner bead, ensuring a seamless look.
9. Tile Removal Damage: After removing tiles from drywall, sanding can help prepare the surface for repairs or painting.
10. Termite Damage: Sanding can be used to remove damaged portions of drywall affected by termites before patching.
Difference Between Wet and Dry Sandpaper
The main difference between wet and dry sandpaper lies in their composition and recommended usage.
Wet sandpaper, usually made of silicon carbide with a kraft or latex paper base, is designed to be used with water for optimal results. The small clearance between sand grains allows debris produced during sanding to flow out with the water, maintaining the sharpness of the sandpaper surface. Wet sanding is particularly effective for achieving a smooth finish in corners and tight spaces. It also produces less dust, making it a cleaner option. Wet sanding is commonly used for smaller projects but can be suitable for larger ones as well.
Dry sandpaper, also known as dry sandpaper, is typically made of high-quality silicon carbide with a latex paper base. The gap between sand grains is larger compared to wet sandpaper, allowing debris to fall off during the sanding process. As the name suggests, dry sandpaper does not require water for optimal functionality. It is commonly used in wood processing, precision die grinding, stone processing, synthetic material processing, and other industries and types. Whether you’re sanding drywall or preparing walls for painting, knowing techniques like sanding between coats of interior paint can make all the difference in the outcome.
Safety Precautions When Using Sandpaper

Photo credit: Shutterstock
While sandpaper is a valuable tool for drywall repair, it is crucial for professionals to prioritize safety during its use. Here are some safety precautions:
1. Wear protective gear: Always wear safety goggles, a dust mask, and gloves to protect your eyes, respiratory system, and hands from dust and debris.
2. Work in a well-ventilated area: Ensure that the room is properly ventilated to minimize the inhalation of dust particles.
3. Use proper technique: Apply even pressure when sanding and move the sandpaper in a circular or back-and-forth motion to achieve an even finish.
4. Keep the work area clean: Regularly clean the work area to prevent a buildup of dust and debris, which can hinder the sanding process.
5. Dispose of dust properly: Once done sanding, carefully collect and dispose of the dust in a sealed bag or container to prevent it from spreading.
Conclusion
Selecting the right grit of sandpaper is crucial for achieving optimal results in drywall repair projects. Understanding the different types of damage requiring sandpaper repair and the recommended grits for various types of repair is essential for a smooth and seamless finish. By choosing the appropriate grit, it can efficiently remove joint compound, achieve a professional-looking result, and save time and effort. If unsure, it’s always best to hire drywall professionals like All Painting to help with your drywall repair. Additionally, considering the difference between wet and dry sandpaper, the types of sandpaper available, and prioritizing safety precautions will ensure a successful drywall repair project. If you’re not into DIY and decide to hire professionals for your drywall or painting job, always ensure the quality of their work. Learn about the indicators to check if your painter did a good job.
If you’re looking for expert guidance or assistance with your drywall repair, we have local professionals ready to help in a city near you. Whether you’re in Maple Ridge, Langley, Richmond, New Westminster, West Vancouver, North Vancouver, Port Coquitlam, Coquitlam, Port Moody, Surrey, Burnaby, or Vancouver, our dedicated painters are just a call away. Don’t compromise on quality; trust our local [city name] painters to provide the seamless finish your home deserves.
Frequently Asked Questions
What grit sandpaper should I use for drywall repair?
For drywall repair, use 120-grit sandpaper for initial sanding of joint compound, then finish with 150-grit or 220-grit for a smooth surface ready for priming and painting. Coarser grits like 80 or 100 can be used for heavy buildup or rough spots, but always finish with a finer grit to avoid visible scratch marks through the paint.
Should I wet sand or dry sand drywall patches?
Both methods work, but wet sanding is recommended for drywall repairs in occupied Vancouver homes because it produces virtually no dust. Use a damp sanding sponge with medium grit for wet sanding. Dry sanding with sandpaper is faster and better for large areas, but requires proper dust protection including a respirator, plastic sheeting, and ideally a vacuum-attached sander.
How do I get a smooth finish on drywall patches?
To achieve a smooth finish on drywall patches, apply thin coats of joint compound rather than one thick coat, allow each coat to dry completely, sand lightly between coats starting with 120-grit and finishing with 220-grit, and feather the edges well beyond the patch area. A bright work light held at an angle to the wall helps reveal any remaining imperfections before priming.
How much does professional drywall repair cost in Vancouver?
Professional drywall repair in Greater Vancouver costs between $150 and $500 for small patches and nail pop repairs, while larger areas or multiple repairs typically range from $500 to $1,500. The cost includes cutting, patching, taping, mudding, sanding, and priming. Hiring a professional ensures invisible repairs that blend seamlessly with the surrounding wall surface.
Can I paint over drywall patches without sanding?
Painting over unsanded drywall patches is not recommended. Joint compound has a different texture and porosity than the surrounding drywall, and without proper sanding, the patch will be visible through the paint as a raised or rough area. Always sand the patch smooth, prime with a drywall primer to equalize porosity, and then apply your finish coat for an invisible repair.