
When it comes to painting the interior of your home, from deciding whether you should paint trim or walls first to achieving a smooth and flawless finish, there are various steps involved. One of these steps is sanding between coats of paint.
But do you really need to go through the hassle of sanding? In this article, we will explore the purpose of sanding between coats of paint, when it should be done, the type of sandpaper to use, and some tips and tricks to make the process easier.
What is the purpose of sanding between coats of paint?
Sanding serves multiple purposes when it comes to painting. Firstly, it creates a slightly rough surface, which helps your paint adhere better. By sanding the surface before applying a new coat of paint, you are essentially creating a better bond between the paint and the wall. This ensures that your paint job lasts longer. If you’re wondering about the frequency, discover how often you should paint your house and why.
Secondly, sanding between coats of paint allows you to remove any imperfections or old paint that may be present on the surface. This process helps in achieving a smooth and even finish. By taking the extra time to sand when necessary, you could save yourself time in the long run by avoiding the need for touch-ups or repainting.
When should you sand between coats of paint?
It is generally recommended to sand with fine sandpaper between coats of paint, after they have dried. This ensures that the previous coat is fully cured before sanding. It is crucial to remove any sanding residue with tack cloth which is a type of cheesecloth coated with beeswax before applying additional coats, as this can affect the final result. This step is a part of proper painting prep, and skipping it can have consequences.
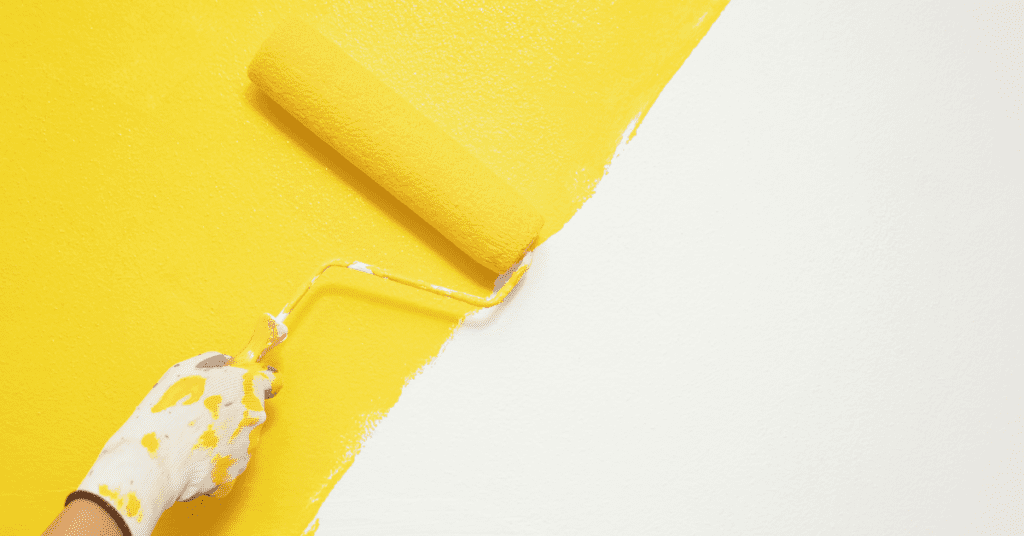
The number of coats of paint you apply ultimately depends on the color and consistency you desire. However, it is generally recommended to apply at least three thin coats of paint for a professional-looking finish. After the final coat of flat paint, you can lightly sand with super fine sandpaper to achieve a smoother surface.
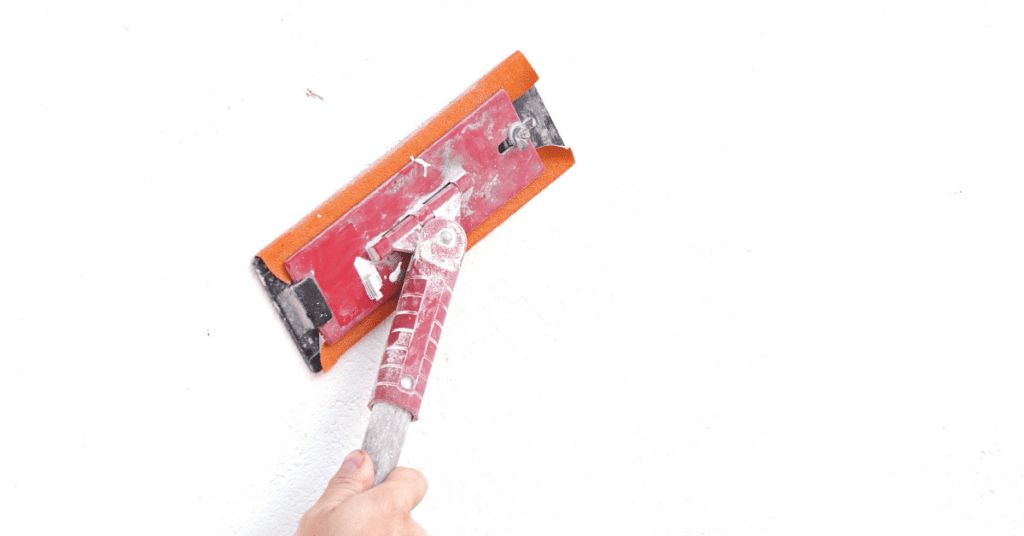
What type of sandpaper should you use for sanding between coats of paint?
The type of sandpaper you use for sanding between coats of paint is crucial to achieve the desired results. For light sanding between coats, it is recommended to use 180 to 220-grit sandpaper. This finer grit sandpaper is perfect for removing the scratches left by coarser grits on unfinished wood and for lightly sanding between coats of paint.
For an even smoother finish, you can use 320 to 400-grit sandpaper. This very fine grit sandpaper is suitable for light sanding between coats of finish and to sand metal and other hard surfaces. It is also useful when deciding whether to repair or replace drywall. It is important to choose the right type of sandpaper for the specific task at hand to avoid damaging the surface or affecting the paint application.
Can you skip sanding between coats of paint?
While sanding between coats of paint is highly recommended for achieving the best results, it is possible to skip this step under certain circumstances. If you’re not sure about the sandpaper’s grit, especially concerning drywall repairs, learn about what grit of sandpaper is best for drywall repair.
If you are applying a new coat of paint over an already smooth and properly prepared surface, sanding between coats may not be necessary. However, it is important to note that skipping this step can result in a less refined finish and may compromise the durability of the paint job. Ultimately, the decision to sand between coats should be based on the specific condition of the surface and desired outcome.
Conclusion
Sanding between coats of paint is a valuable step in the painting process that can greatly enhance the quality and longevity of your paint job. It helps to create a smoother and more professional-looking finish by eliminating imperfections and ensuring better paint adhesion. While sanding may require some additional time and effort, the results are well worth it. So, the next time you embark on an interior painting project, consider the benefits of sanding between coats of paint for a truly impressive result.
Looking for Expert Painters in Your Area?
Whether you’re in need of Maple Ridge painters, Langley painters, Richmond painters, New Westminster painters, West Vancouver painters, North Vancouver painters, Port Coquitlam painters, Coquitlam painters, Port Moody painters, Surrey painters, Burnaby painters, or Vancouver painters we have skilled painters ready to bring your vision to life. Don’t compromise on quality; choose local experts who understand your painting needs. Click on your city and get in touch with our professional painters today!
Importance of Roof Inspections for Vancouver Foreclosures:
Hardeep, an experienced Roofer, underscores the importance of conducting thorough roof inspections for potential buyers of Vancouver foreclosed properties. While these properties may offer great deals, they often require significant renovations and maintenance. Roof issues, such as leaks, damaged shingles, or structural damage, can be costly to repair and may not be immediately apparent to buyers. By investing in a professional roof inspection before initiating renovation or demolition work, buyers can uncover any potential roofing problems and budget accordingly for repairs. Partnering with reputable contractors, such as Pestcheck for pest control and other renovation needs, ensures a safe and efficient renovation process, ultimately maximizing the property’s value and potential for resale or rental.
Frequently Asked Questions
Do I need to sand between coats of interior paint?
Sanding between coats of interior paint is recommended but not always required. Light sanding with 220-grit sandpaper between coats removes dust nibs, brush marks, and imperfections, resulting in a smoother professional finish. It is especially important when applying paint over a glossy surface, using oil-based paint, or when visible imperfections are present after the first coat.
What grit sandpaper should I use between coats of interior paint?
Use 220-grit sandpaper for sanding between coats of interior paint. This fine grit is enough to smooth out imperfections and create a slight tooth for the next coat to adhere to, without scratching or damaging the underlying paint layer. For larger areas, a sanding sponge or pole sander makes the job easier and more consistent.
How long should I wait before sanding between coats of paint?
Wait until the paint is fully dry before sanding between coats. For latex paint, this is typically 2 to 4 hours, while oil-based paint requires 24 hours or more. In Vancouver’s cooler and more humid conditions, drying times may be longer, so check that the surface feels completely dry and smooth to the touch before sanding.
Can skipping sanding between coats cause paint problems?
Skipping sanding between coats can lead to a less smooth finish with visible brush strokes, roller marks, or dust particles trapped in the paint film. While modern latex paints are formulated to bond well between coats without sanding, you may notice imperfections on close inspection, particularly in well-lit rooms or on large flat surfaces like hallway walls.
Should I hire a professional painter for interior painting in Vancouver?
Hiring a professional painter in Vancouver ensures proper surface preparation including sanding, priming, and dust removal between coats, which results in a noticeably smoother and longer-lasting finish. Professional painters also know how to handle the unique challenges of Vancouver homes, such as older plaster walls, moisture-prone bathrooms, and high ceilings common in heritage and modern homes alike.